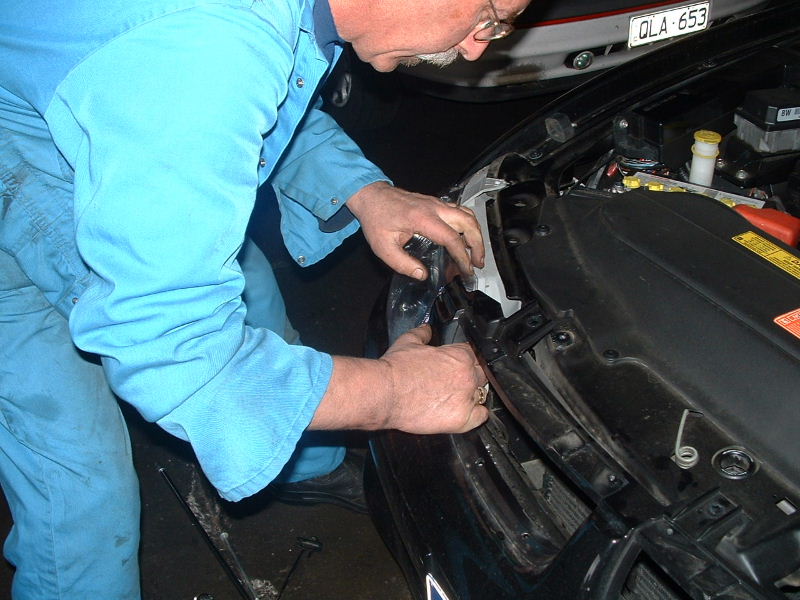

This web page describes in very basic form how to fit Holden Monaro headlights to your VT series Commodore. These instructions are based on fitting Monaro lights to a VT SS series commodore, all other models still apply, the slight difference being the front bumper.
Please note that once installation is completed, wiring modifications need to be made to the headlights in the steering column so that both the high & low beams come on when you switch the highbeams on. This is detailed towards the bottom.
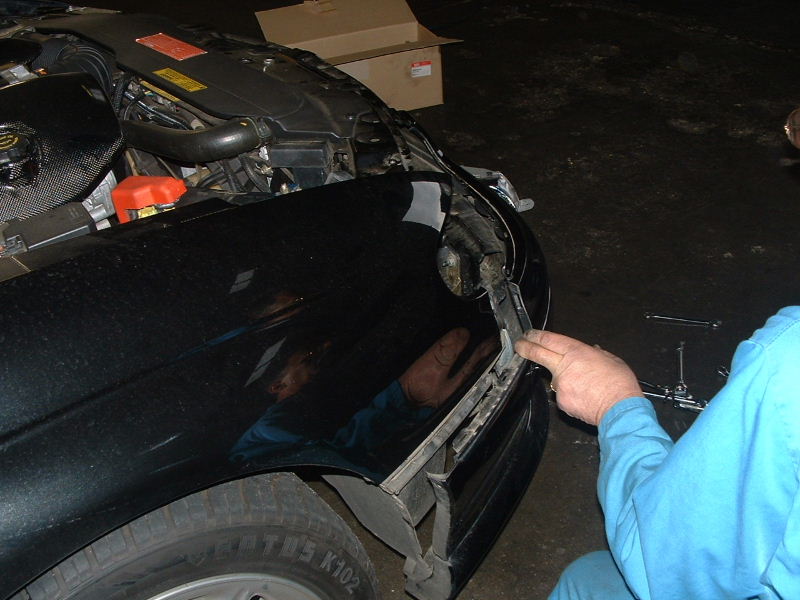
We also removed the battery mounting clamp before we started, this may explain why we didn't encounter any clearance problems. We also didn't encounter any problems with the HSV CAI. The factory loom simply plugged straight in and all lights operated as standard. There have been reportedly issues with:
HSV CAI - I don't know what issues were faced by some here but we had no problems
Because
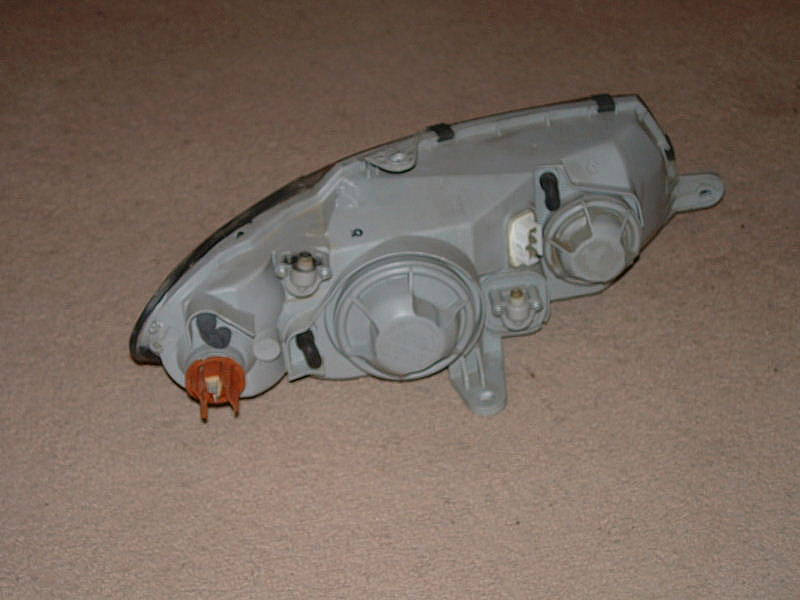
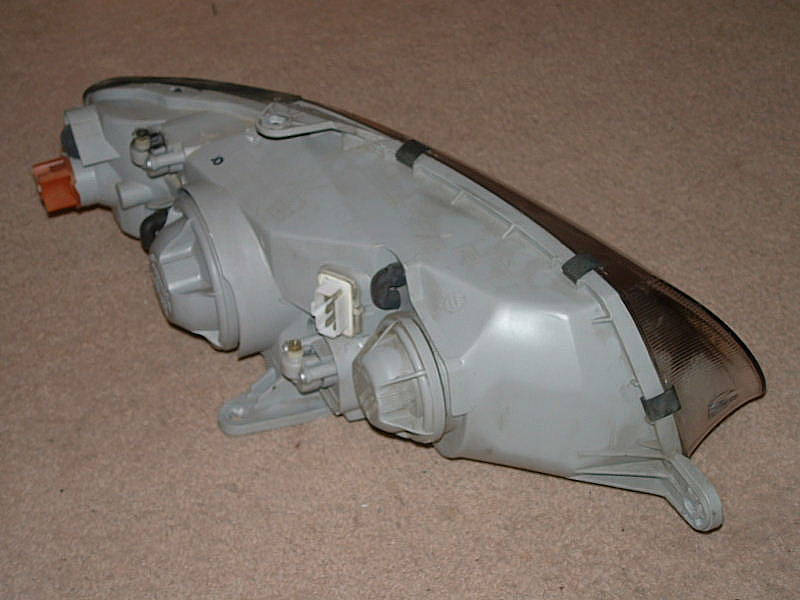
the Monaro headlight assy has a low beam lamp and a separate high beam lamp
unlike a standard car which has a combined High/Low lamp and a driving lamp,
problems will occur when the lights are placed on high beam. In a standard car
the high low combination lamp will light up the edges of the road when the
lights are on high beam, the driving light works like a pencil beam lighting up
the distant road.
If the Monaro light assy is used in a standard car without modding the wiring,
when the high beam lamps are turned on, only the centre pencil beams work and
you loose visibility of the edge of the road. Monaro's overcome this by turning
on both High and Low beams when the high beams are selected.
The following document shows you where the changes need to be made. A wire needs
to be cut and joined to another wire on the Flash Dip switch on the steering
column. Preferably this type of join should be made by soldering and heat
shrinking a cover over the join but I cannot see why one of the crimp lock
connectors wouldn't work as well. Click here for the
PDF document.
Special
mention goes to Mark "5.7 Berlina" from the LS1 forums for supplying
me this information and file. There is a thread with this information on
the Australia & LS1 Holden Forums at http://www.ls1.com.au/forum/showthread.php?s=&threadid=6302&highlight=headlight
These instructions are provided in good faith, please ensure you are careful with what you do and how you do it. Roity / Australian LS1 & Holden Forums cannot be held liable for incorrect installation.